(206) 258-6676

How To: Prepare For Interior Painting

We frequently tell our clients that the time and care it takes to prepare the painting surface is just as important as the painting itself. Here, we discuss the specific steps we take to prepare for interior painting. This is also a great resource for DIYers hoping to obtain professional-looking results!
1. To prepare the room for painting, remove all furniture and decor if possible. This way, you won’t struggle to reach any areas in the room, or risk damaging your belongings. If any items have to stay in the room, cover them with protective plastic.
2. Remove outlet covers and screws from the walls. This is a standard practice of professional painters that DIYers don’t always do, but it only takes a few minutes to help you avoid the unsightly appearance of uneven cut-in lines and spots of paint on your outlet covers.
3. Lay down drop cloths throughout the room. We prefer to use heavy duty, butyl drops, as these are best at containing spills/splatters and keeping them from the floor underneath. Be sure to clean up any large spills, as paint can still find its way through the cloth. You won’t see a professional using plastic or newspaper; it isn’t enough to protect the surrounding areas, and will shift around, unlike drop cloths.
5. Clean your surfaces. Paint adheres best to a clean surface. We tend to use a solution of TSP (Tri-sodium phosphate) and water; it’s great for cleaning off grease and other stains. For dustier areas, a good first step is to use a shop-vac to remove dust and dirt before using a cleaning solution.
6. Spackle any nail holes, cracks, or other imperfections on the surface. Firmly apply the spackle into the crevices with a putty knife. Make sure to allow the product to dry thoroughly before going further.
7. After drying, sand the filled areas to create a smooth, uniform surface. Trim and other glossy areas being painted should also be sanded. Roughing up the surface allows for better adhesion of the new coat of paint.
8. Caulk any joints/seams on the walls. An area to focus on is where trim pieces meet the wall, where there may be a small gap. Allow the caulk to dry.
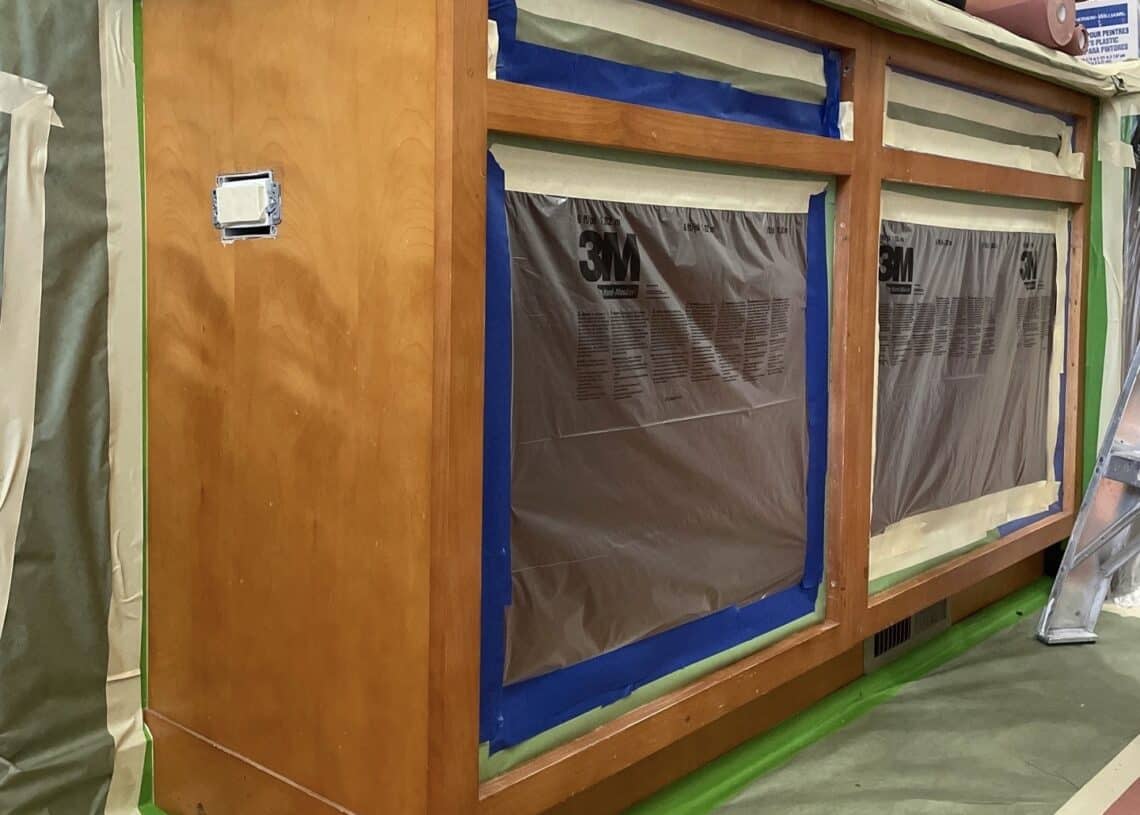
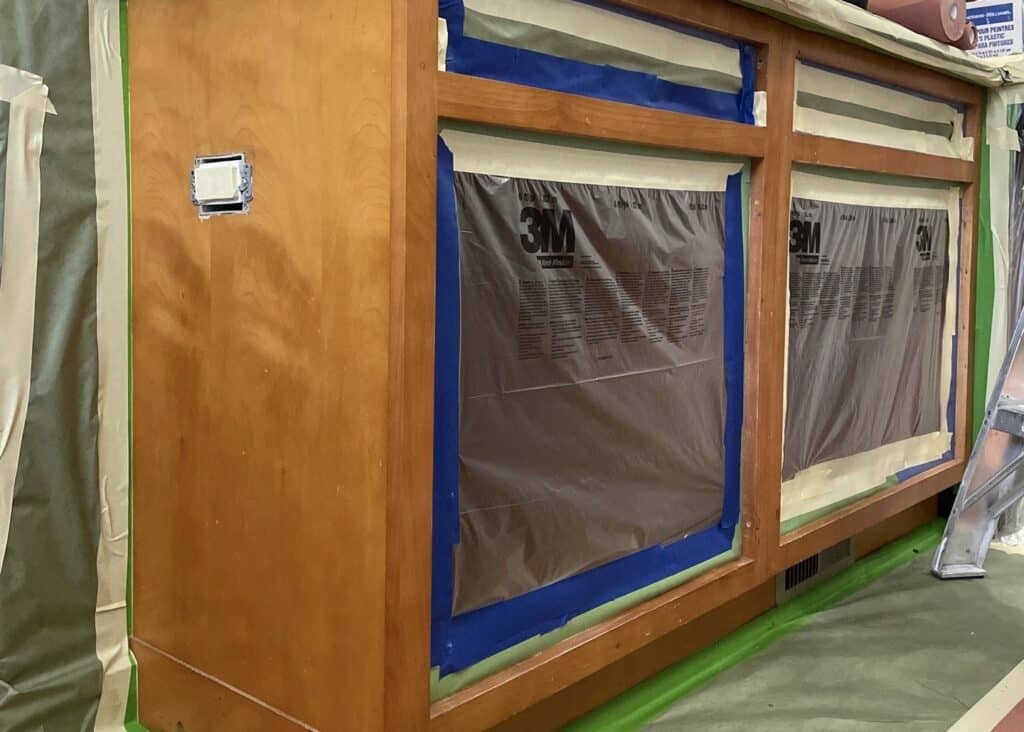
9. Now that you have completed the surface prep, mask off any trim work and windows using plastic or paper. Smaller items can be masked off using a masking machine with paper and tape. Larger items like windows should be masked off using a masking machine with painter’s plastic and tape.
10. Lastly, you should spot-prime areas such as discolored areas, or dirtier areas you cleaned with the TSP. The spackled areas should also be spot-primed. This will allow for the best adhesion in the “problem” areas.
By completing all of these steps, your paint job will adhere better, lay down more evenly, and have a longer life. It might seem like an extensive process, but these steps are sure to pay off in your final results. Professional painters know that the job of painting itself is secondary to a well-prepped surface.
If completing the job on your own seems daunting, hiring a quality-oriented contractor like Sound Painting Solutions is always a great idea. Schedule a free quote today here!
